
1) Preparation and Material Mixing
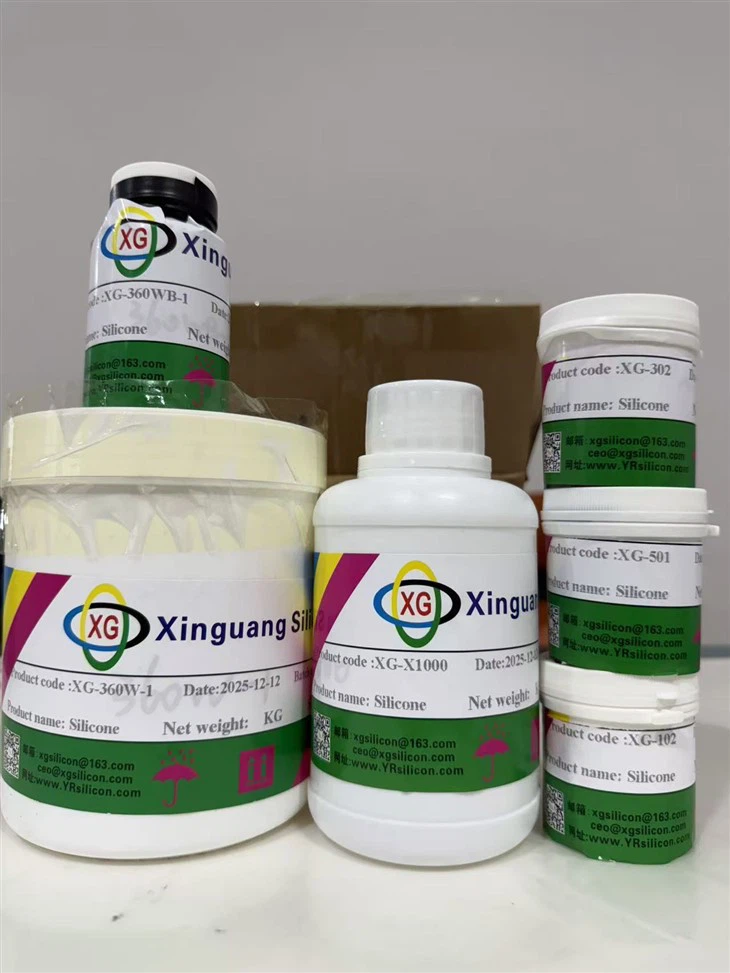
Begin by weighing your components accurately. For every 100 g of molding silicone XG-360W-1, add 10 g of XG-360WB-1 catalyst (10:1 base to catalyst) and approximately 25 % thinner (XG-X1000) relative to the silicone volume. This thinning step improves the silicone's flow, ensuring consistent dispensing lines and shapes, especially in fine logo details.
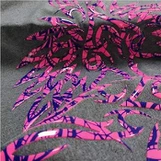
Mix thoroughly until the catalyst and thinner are fully incorporated and the color and viscosity are uniform. Proper mixing prevents uncured spots and ensures predictable curing behavior. When pigments are required (for example, red color for the foundation), add them during this stage so that color consistency is maintained throughout each batch.
2) Dispensing Setup
Once your silicone mixture is ready, transfer it to the dispensing machine. Dispensing machines used in two-component silicone applications are designed to meter and mix high-viscosity materials under controlled pressure and ratio conditions, providing precise application directly into molds or onto substrates.
Program the dispenser according to the logo design: specify the volume of silicone, dispense path, speed, and ratio settings. The inclusion of thinner should be factored into the overall rheology and flow rate, as this impacts how the silicone travels through hoses and nozzles.
3) Filling the Mold and Applying the Silicone
With the dispensing machine calibrated, begin filling the mold cavities with the silicone mixture. The mold should be clean, pre-prepared, and if necessary, treated with a mold-release agent or film to facilitate easier demolding after curing. While not always required, a thin release coating can significantly extend mold life and reduce waste.
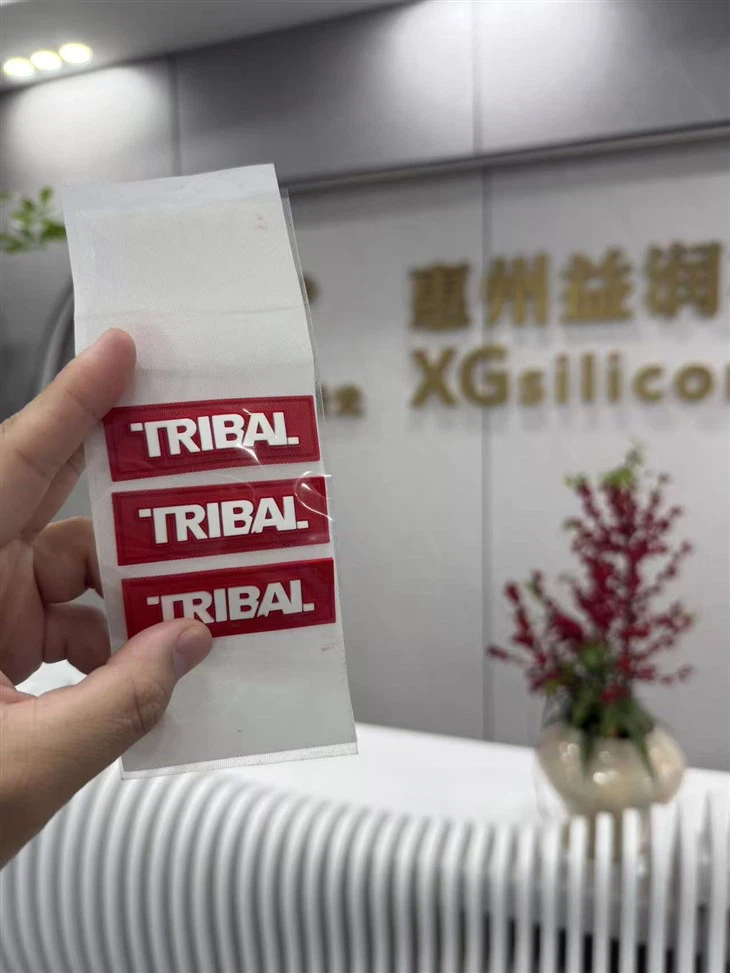
Dispense white silicone for the logo component first - this gives a clean, opaque foundation that will later be built up or outlined with the red silicone. Immediately follow by applying red silicone for the background or accents. The automated system ensures that these two materials are placed with exact reproducibility and minimal waste.
4) Covering with Hot Melt Film
Once the silicone is dispensed, cover the filled mold with a hot melt film. This film performs multiple functions:
It protects the silicone surface,
It provides a carrier for later heat-pressing onto fabric,
And it helps maintain the shape during the vulcanization process.
Cut the hot melt film precisely to size, place it over the silicone, and ensure there are no wrinkles or air pockets before moving to the curing stage.
5) Curing (Vulcanization)
Transfer the mold with the silicone and hot melt film into the vulcanizing (heat press) machine. Effective silicone mold curing relies on controlled temperature and pressure to initiate and complete crosslinking. In this stage:
The silicone transforms from a viscous paste into a solid elastomeric form.
Heat and pressure interlink the polymer chains, creating stable mechanical strength.
Typical heat transfer systems maintain an upper mold temperature well above ambient and use lower mold heat as part of the cycle. The exact temperature and dwell time depend on design thickness and silicone formulation, but for many silicone molding processes, upper mold temperatures are in the 150–180 °C range with press times of several seconds to minutes.
After the press cycle, allow the mold to cool before attempting demolding. Cooling stabilizes the silicone and prevents distortion.
Hot Tags: molding silicone, suppliers, factory, custom, wholesale, buy, bulk, low price, in stock, free sample, made in China, glass silicone adhesive, heat transfer printing t shirt, Jacquard Professional Screen Printing Ink, low price Mixture Of Silicone Ink And Colors, Screen Printing Textile Silicone Made in China, Silicone Screen